Setup remote logger link
This tutorial will guide you to setup a remote logger.
Go to https://dashboard.render.com/. It will take you to the login page. If you do not have an account on https://render.com, create an account and login.
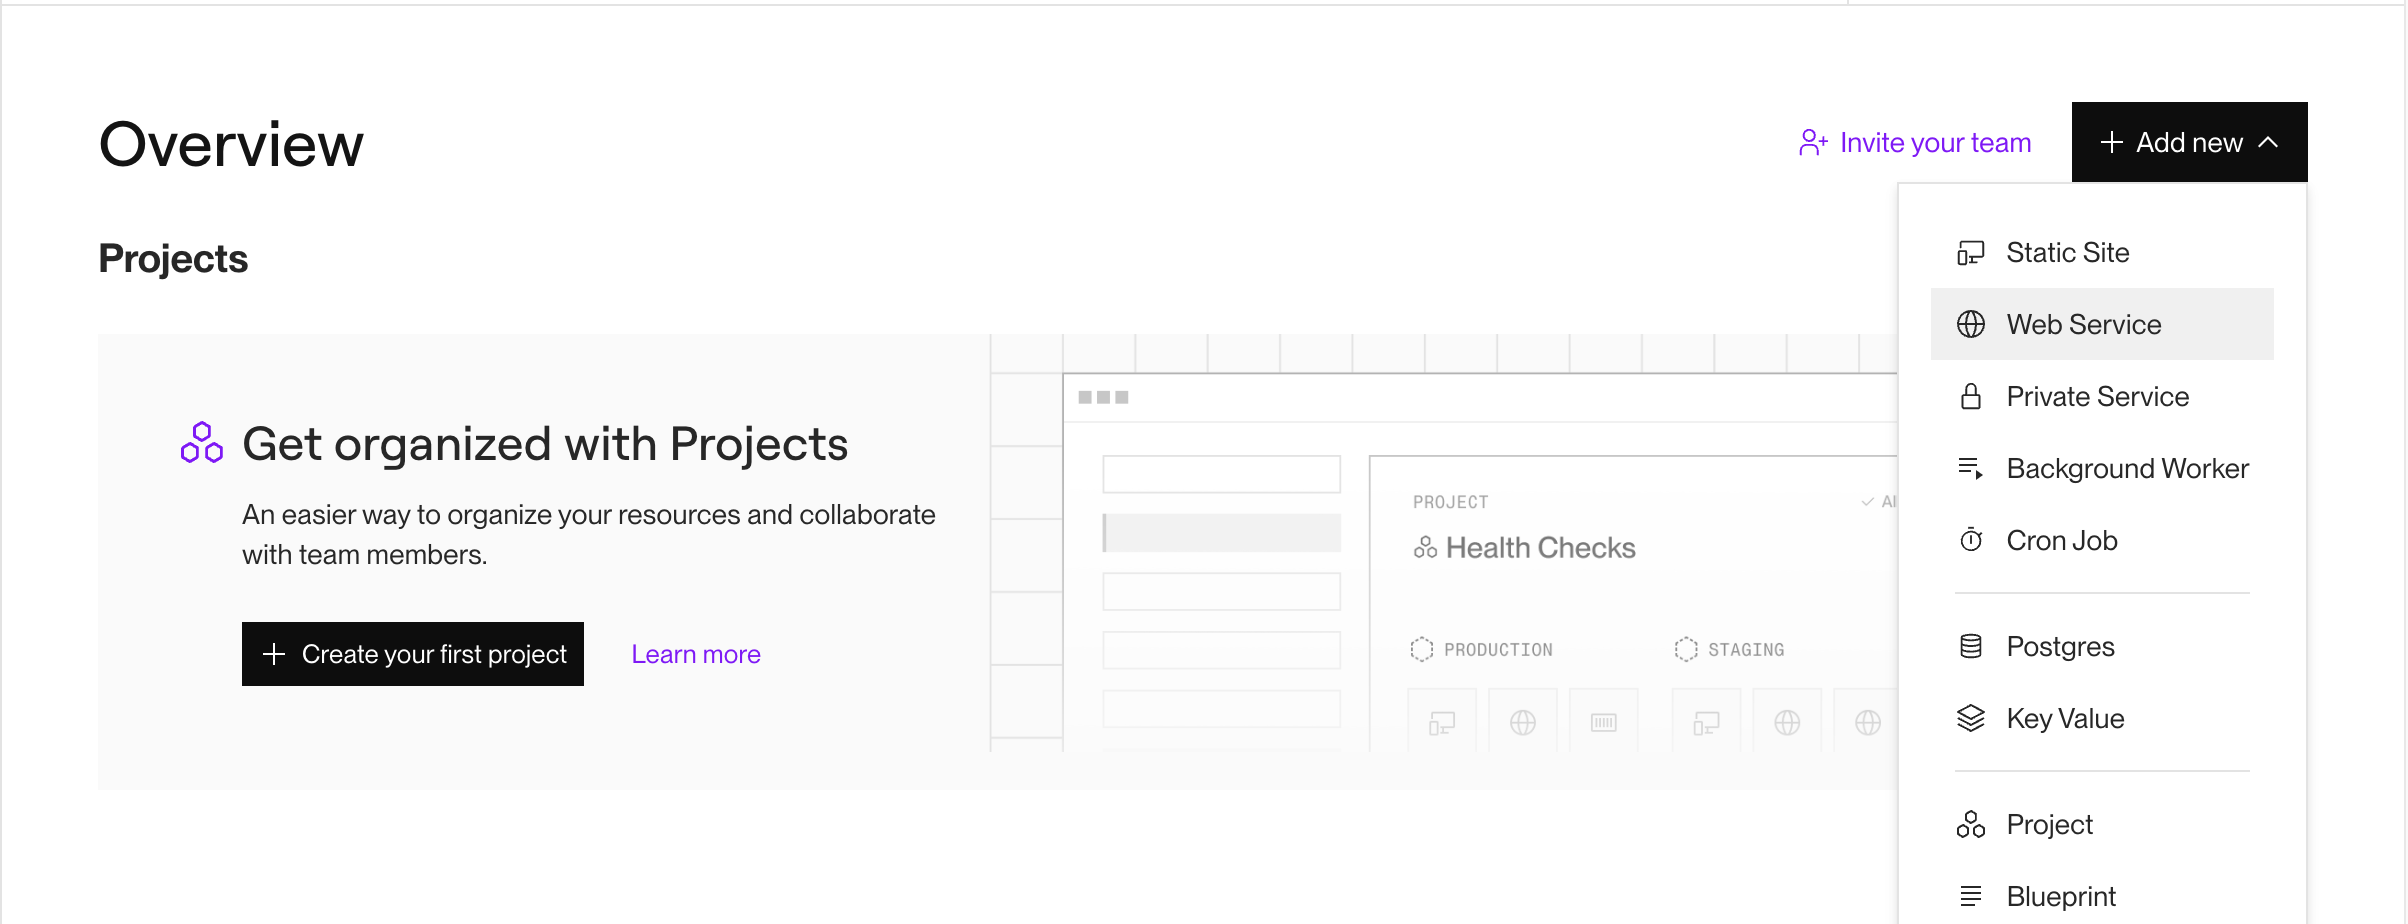
After login, you will land up in the following page. Click on Add new and then Web Service.
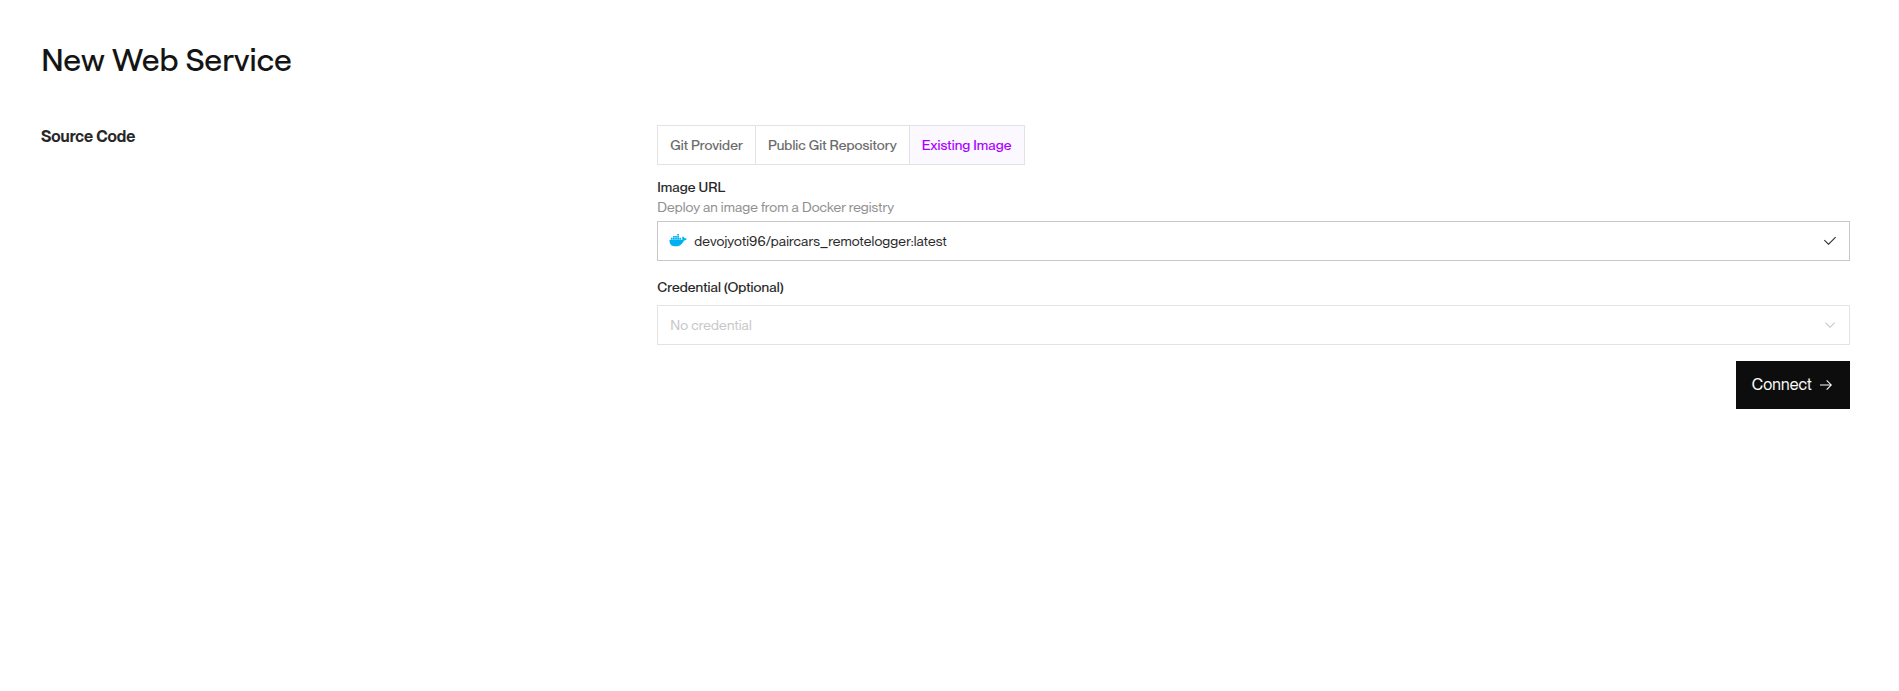
Then the following page will open. Select Exisiting image table and put docker.io/devojyoti96/paircarslogger:latest in the Image URL box. If the image link is correct, a blue tock will appear the right corner of the box as hown in the image below. Then click on black Connect–> button at the bottom of the page.
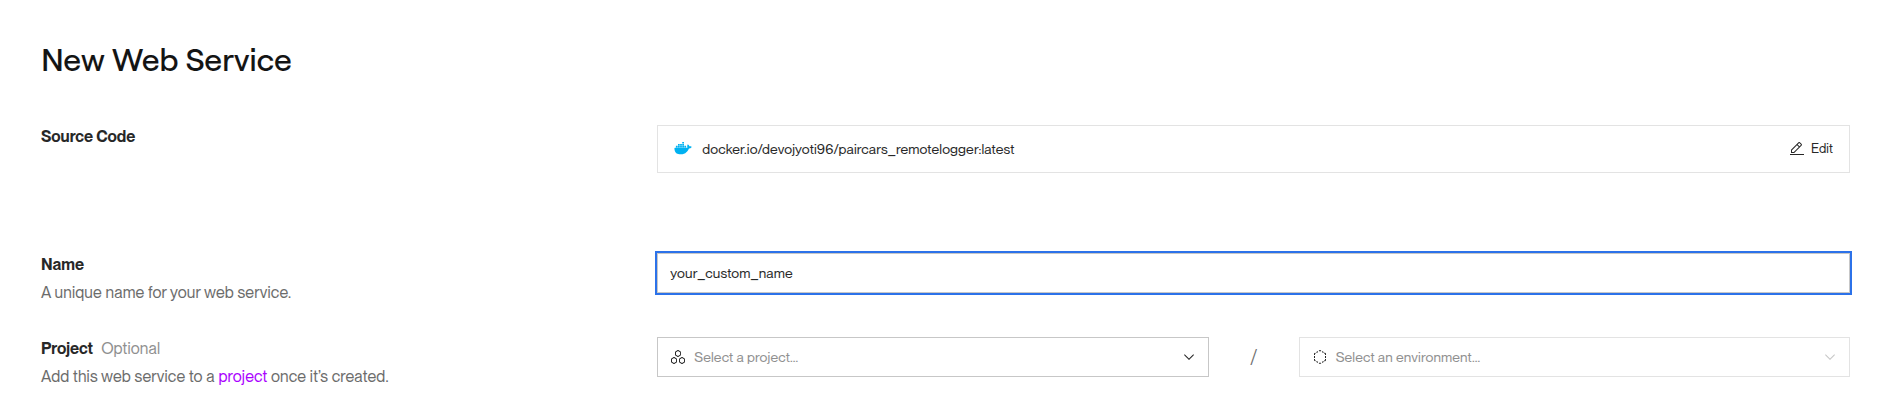
Next, you will land up in the following page. In the name box, type your custom remote logger name, <remote-logger-name>. If the name is in use by anyone else and not available, a red text will appear below the box showing Name is already in use. Modify the name to have a unique available name. Once done, scroll down to the middle of the page.
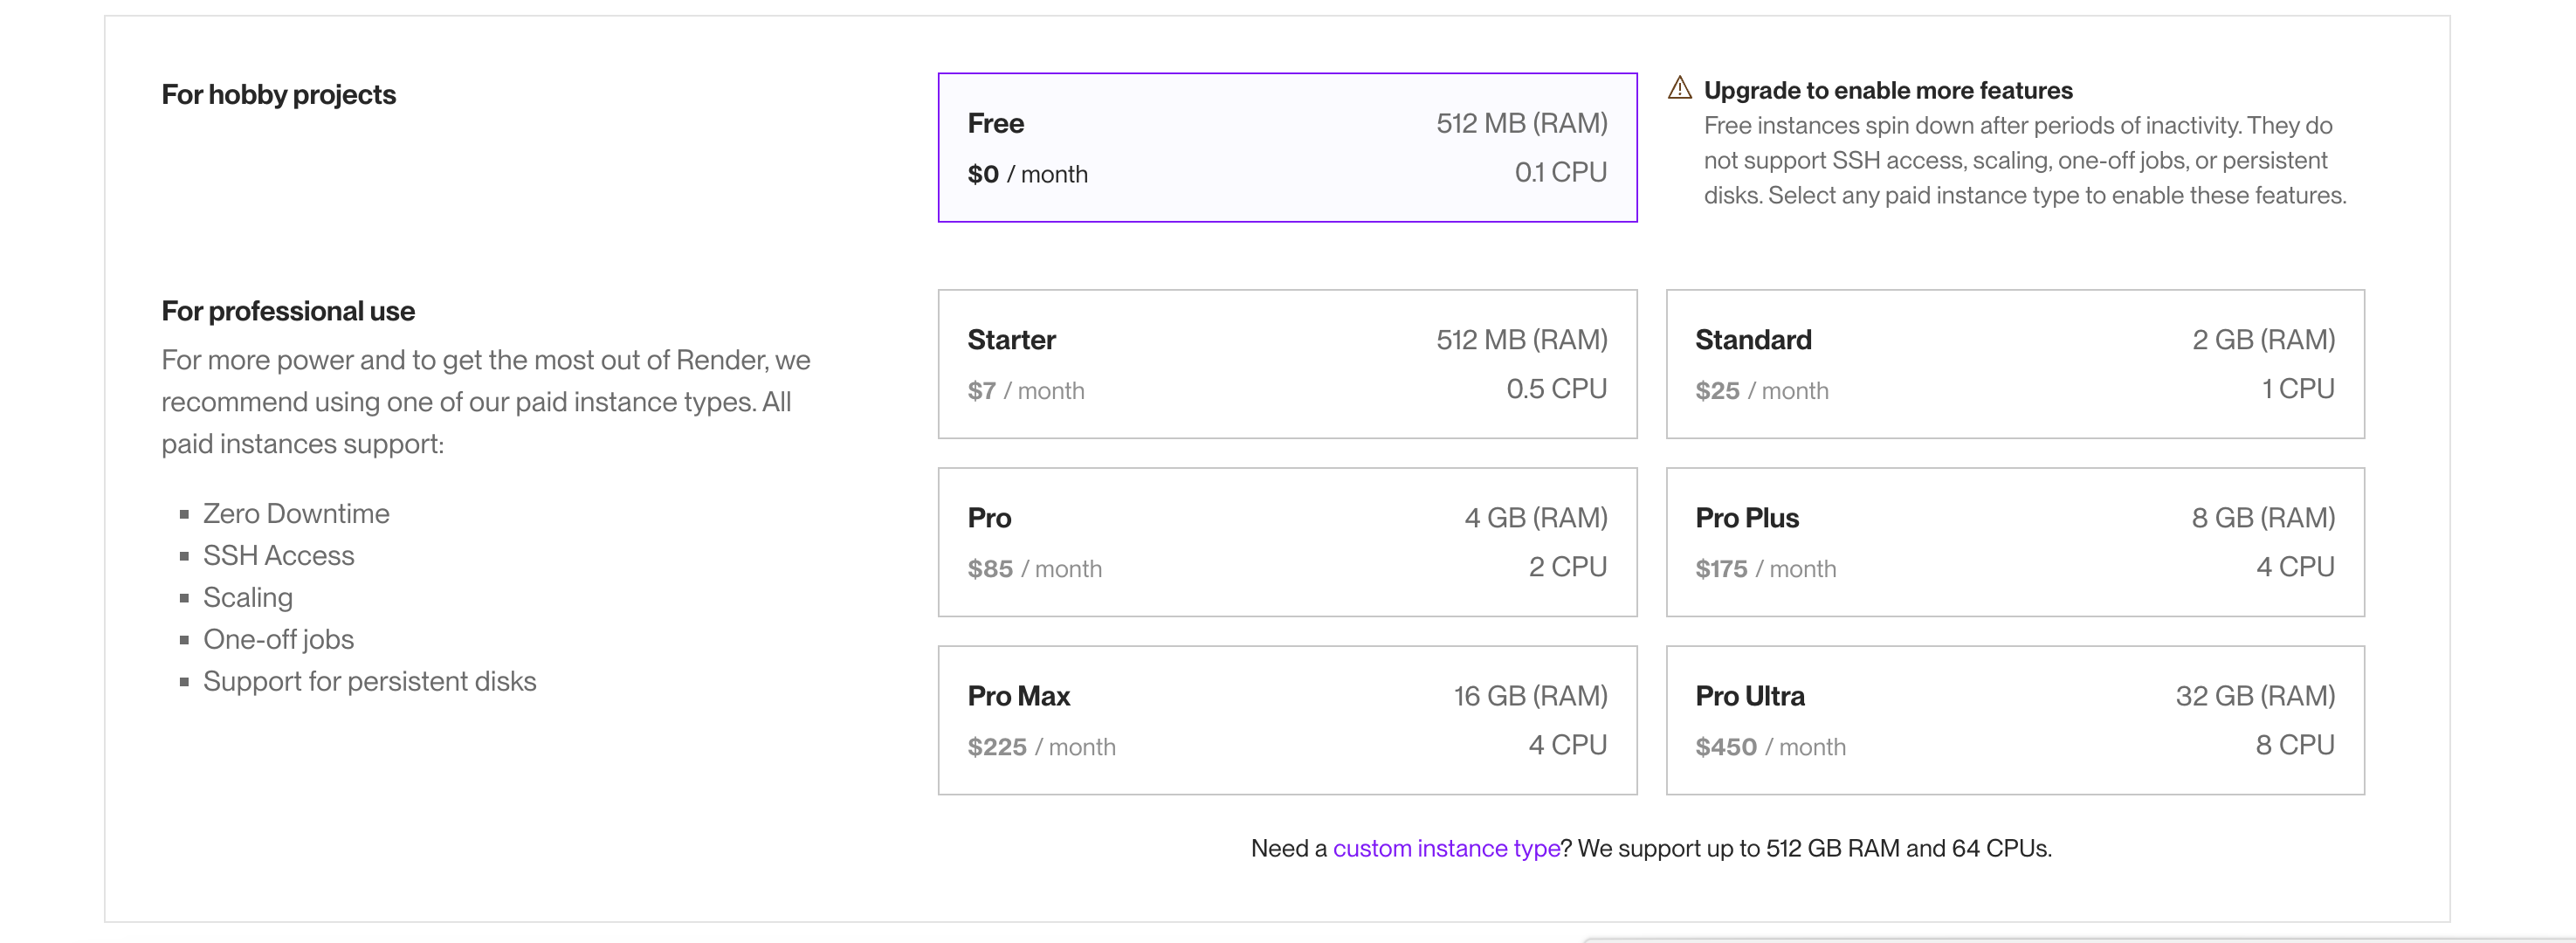
In the middle of the page, select the user-plan. For individual user, you can choose Free as shown in the image below. If you want any paid version, choose the appropriate one.
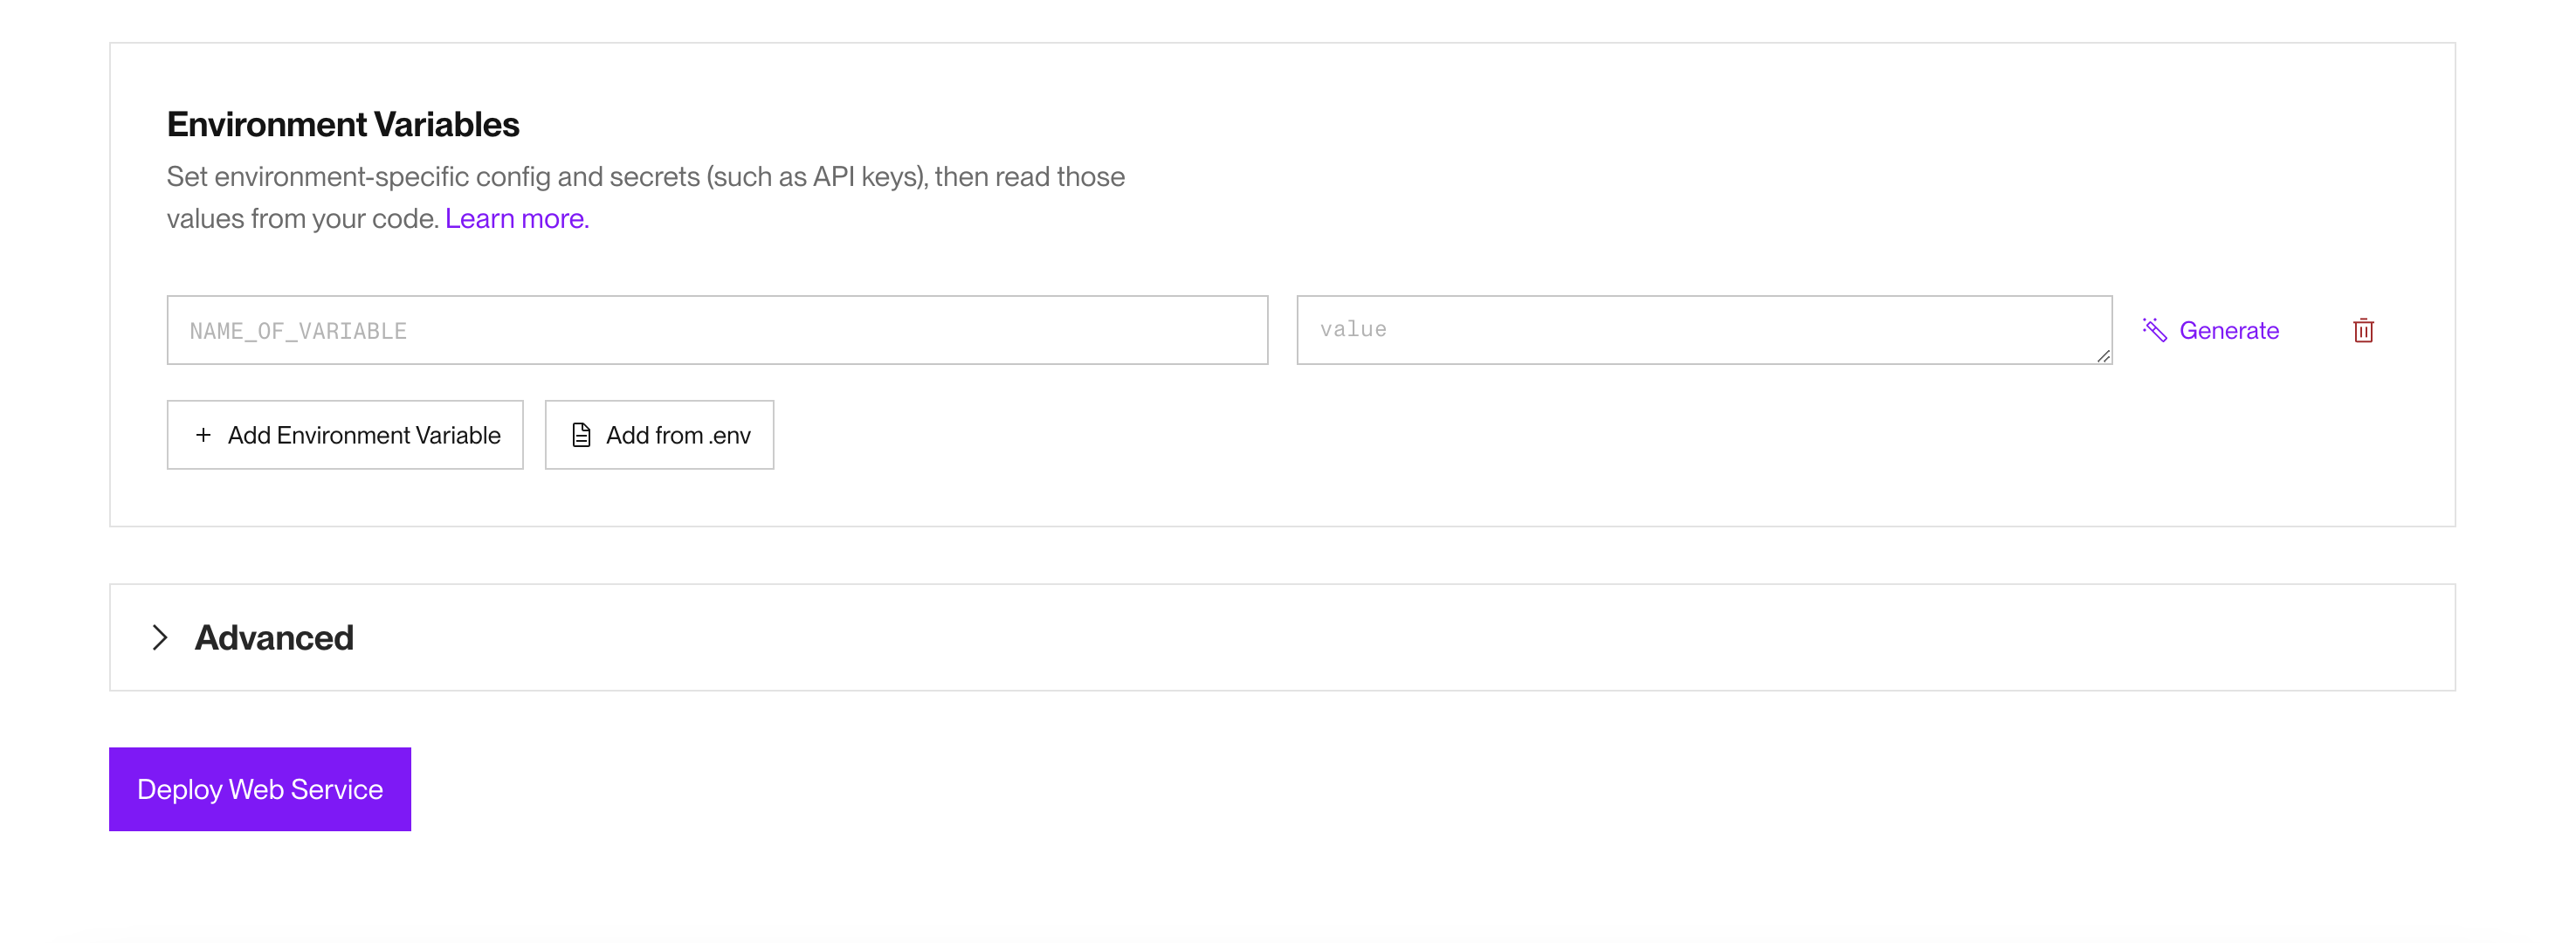
Then go down to the bottom of the page. Click of Deploy button.
In the next page, you will see web-service is being started. Once you see, ==> Your service is live 🎉 as shown in the image below, your remote logger is ready to use. Your remote logger link is also shown just above the black window, and it will be https://<remote-logger-name>.onrender.com.
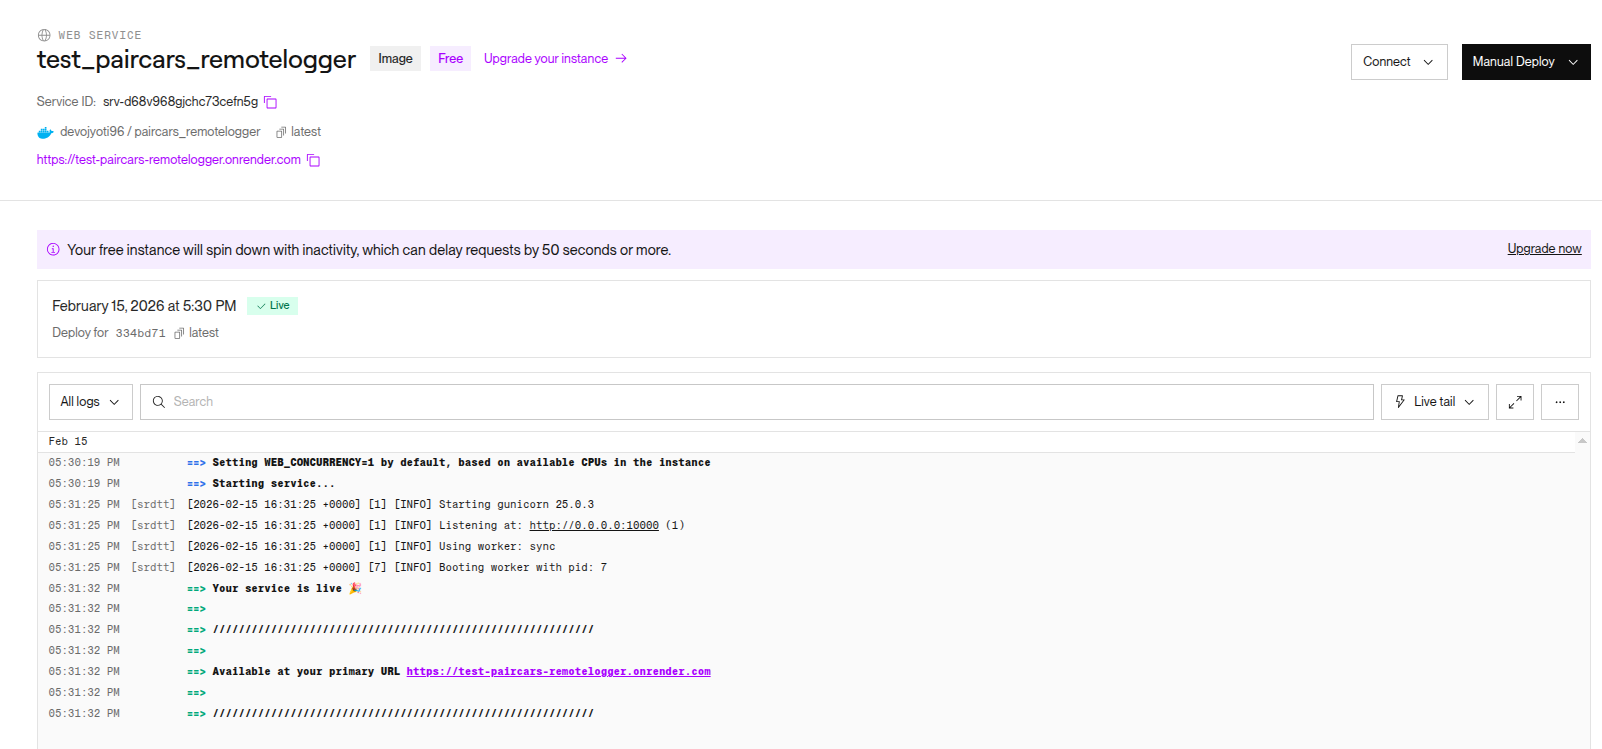
Now use this link to setup as remote logger link as described above. This link is persistent and can be used in multiple machines. Your P-AIRCARS job logs will appear in https://<remote-logger-name>.onrender.com. How to access